Table of Contents
ToggleA kitchen backsplash isn’t just protection for drywall, it’s the visual anchor that ties countertops, cabinets, and hardware together. Modern kitchen backsplash ideas have shifted away from busy patterns and toward clean lines, bold materials, and statement-making simplicity. Whether someone’s gutting a 1980s galley kitchen or refreshing a builder-grade rental, the backsplash sets the tone. This guide breaks down what defines modern backsplash styles in 2026, covers the best materials and installation approaches, and helps homeowners decide whether to tackle it themselves or call in a pro.
Key Takeaways
- Modern kitchen backsplash designs prioritize clean lines, minimal grout, and neutral palettes—moving away from ornamental patterns toward gallery-wall simplicity.
- Large-format tiles and slab materials reduce visual clutter and maintenance; subway tiles in vertical stacks with matte finishes deliver contemporary style for DIY-friendly projects.
- A modern backsplash kitchen works best with thoughtful material selection based on durability, cleanability, and compatibility with existing countertops and cabinetry.
- DIY installation suits standard subway tiles and simple layouts using basic tools like wet saws and notched trowels, while large-format slabs and complex patterns require professional installation.
- Sample tiles in your kitchen’s actual lighting before committing—colors shift dramatically under warm versus cool LED, and proper grout color matching creates a seamless, monolithic look.
- Professional installation costs $10–$30+ per square foot in labor, but full-height backsplashes and slab materials eliminate extensive maintenance and create dramatic focal points worth the investment.
What Makes a Kitchen Backsplash Modern?
Modern design in kitchens prioritizes function, simplicity, and intentional material choices. A modern backsplash for kitchen spaces typically features:
- Minimal grout lines: Large-format tiles or slab materials reduce visual clutter.
- Neutral or monochromatic palettes: White, gray, black, concrete tones, and muted earth colors dominate.
- Smooth or matte finishes: High-gloss subway tiles have given way to matte ceramics, honed stone, and textured porcelain.
- Geometric patterns without busyness: Straight stacks, vertical runs, or subtle 3D relief, not checkerboards or mosaics.
- Integrated or hidden seams: Edge profiles are flush, and transitions are clean.
Unlike traditional backsplashes that lean ornamental, modern backsplash kitchen designs serve as a backdrop that complements rather than competes. Think gallery wall, not quilt. The goal is to let natural light, cabinetry, and countertop materials do the talking while the backsplash anchors the composition.
Key consideration: Modern doesn’t mean cold. Textured stone, wood-look porcelain, and warm whites can still feel inviting while keeping the aesthetic current.
Top Modern Backsplash Materials and Styles
Choosing the right material comes down to durability, cleanability, and how it plays with existing finishes. Here are the most popular modern kitchen backsplash ideas dominating 2026 projects.
Sleek Subway Tiles with a Contemporary Twist
Subway tile isn’t going anywhere, but the application has evolved. Instead of the classic 3″ × 6″ white ceramic in a running bond, modern installations use:
- Larger formats: 4″ × 12″ or 4″ × 16″ tiles reduce grout lines and speed up installation.
- Vertical stacking: Running tiles vertically instead of horizontally adds height and a less predictable rhythm.
- Matte or textured glazes: Glossy white feels dated: opt for matte finishes or handmade-look tiles with slight surface variation.
- Narrow grout joints: Use 1/16″ to 1/8″ grout lines with unsanded grout for a tighter, more seamless look.
Subway tile works well for DIYers. It’s forgiving, widely available, and can be cut with a basic wet tile saw or score-and-snap tile cutter. Pair with a mid-tone grout (light gray or taupe) to avoid the sterile hospital vibe of stark white grout.
Cost range: $3–$12 per square foot for tile alone, depending on whether it’s ceramic or porcelain. Add another $2–$4 per square foot for thinset, grout, and spacers.
Large-Format Slabs and Minimalist Panels
For a true modern backsplash kitchen statement, large-format materials eliminate grout lines almost entirely. Options include:
- Porcelain slabs: Available in sizes up to 5′ × 10′, these mimic marble, concrete, or even wood. Brands like Remodelista often feature high-end installations showcasing seamless slab backsplashes.
- Quartz panels: Matching the backsplash to the countertop material creates a continuous surface. Quartz is non-porous, stain-resistant, and easy to wipe down, ideal behind cooktops.
- Glass panels: Back-painted or textured glass offers a sleek, reflective surface. Installation requires a perfectly flat substrate and professional fabrication.
- Metal sheets: Stainless steel, brushed brass, or blackened steel add industrial edge. Use 20-gauge or thicker to avoid oil-canning (visible warping).
These materials require professional installation. Slabs are heavy (porcelain slabs can weigh 20+ pounds per square foot), and mistakes are expensive. Expect to pay $40–$150+ per square foot installed, depending on material and region.
One advantage: minimal maintenance. With fewer grout lines, there’s less scrubbing and resealing. For homeowners who cook daily and want a low-maintenance modern backsplash for kitchen use, slabs are worth the investment.
Design Considerations for Your Modern Backsplash
Before buying tile or scheduling a contractor, measure carefully and think through these details.
Height and coverage: Standard backsplash height is 18″ from the countertop, but modern kitchens often go full-height to the bottom of upper cabinets or all the way to the ceiling for a dramatic effect. Full-height backsplashes cost more in materials but eliminate the need for a separate paint or drywall finish above.
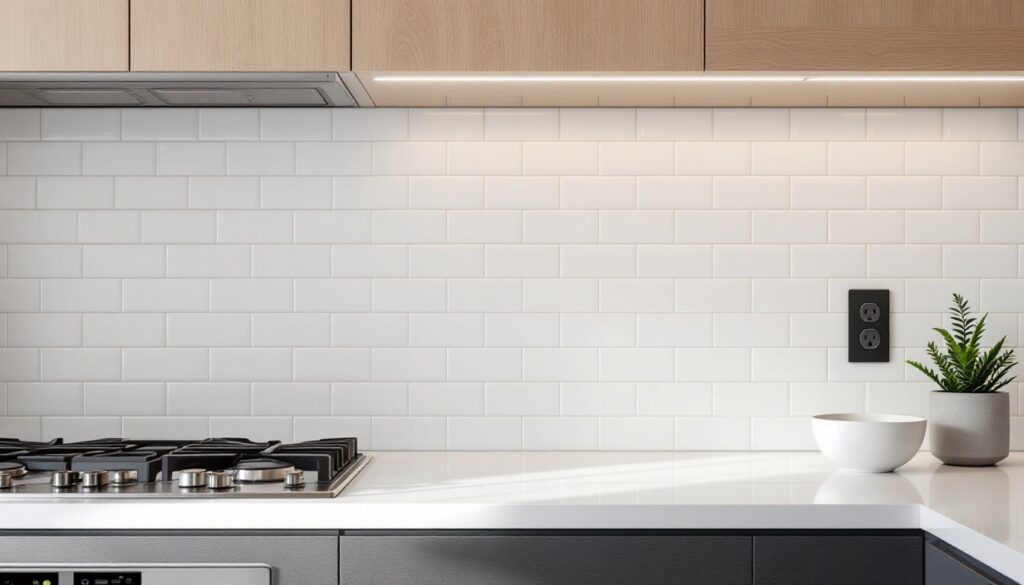
Outlets and switches: Modern designs often use flush-mount or screwless outlet covers in matching finishes (white, black, stainless). Plan tile layout so cuts around outlets land on full tiles, not slivers. If the wall has multiple outlets, consider relocating them to align better, this requires an electrician and must meet NEC (National Electrical Code) spacing requirements.
Window and cabinet transitions: End tiles cleanly with bullnose edge pieces, Schluter metal trim, or flush-cut edges if using porcelain slabs. Avoid awkward half-tiles or visible raw edges.
Color and contrast: Light backsplashes (white, light gray, soft beige) brighten small kitchens and pair with nearly any cabinet color. Dark backsplashes (charcoal, black, deep green) add drama but show water spots and grease more readily. Textured or patterned tiles can hide minor staining better than flat, glossy surfaces.
Lighting: Under-cabinet LED strips enhance modern backsplashes by highlighting texture and reducing shadows. Install them before tiling if embedding in a recessed channel: otherwise, surface-mount strips work fine.
Matching grout: For a monolithic look, match grout color to tile color. For subtle definition, go one shade darker. Avoid high-contrast grout unless the design specifically calls for it, black grout on white tile can feel retro rather than modern.
Sample first: Order sample tiles and view them in the actual kitchen lighting at different times of day. Colors shift dramatically under warm vs. cool LED lighting. Many design resources, including platforms like Houzz, offer photo galleries filtered by material and style to help narrow choices.
DIY Installation vs. Professional Installation
Whether to DIY a modern backsplash kitchen project depends on material choice, skill level, and time.
Good candidates for DIY:
- Standard subway tile or small-format tiles (up to 12″ × 24″)
- Peel-and-stick tile panels (temporary or rental-friendly solutions)
- Straight, simple layouts without complex cuts around windows or appliances
- Homeowners comfortable with a wet tile saw, trowel, and grout float
Tools needed for DIY tile installation:
- Wet tile saw or score-and-snap cutter
- Notched trowel (1/4″ × 3/8″ V-notch is common for wall tile)
- Grout float and sponges
- Tile spacers (1/16″ or 1/8″ for modern looks)
- Level (4-foot and torpedo)
- Safety gear: safety glasses, dust mask, gloves
Materials:
- Thinset mortar (modified for most indoor applications)
- Grout (unsanded for narrow joints, sanded for 1/8″ and wider)
- Tile backer board or primed drywall (drywall is acceptable for backsplashes: backer board adds durability in wet areas)
Steps in brief:
- Prep the wall: Remove old backsplash if present, patch holes, and ensure the surface is flat and clean. Sand any paint gloss.
- Dry-lay the tile: Plan the layout to avoid tiny slivers at edges. Start from the center or a focal point (like the range).
- Apply thinset: Spread with a notched trowel, back-butter tiles if needed, and press firmly with a slight twist.
- Set spacers and check level frequently.
- Let thinset cure 24–48 hours.
- Grout, wipe clean, and seal grout if required (some modern epoxy grouts don’t need sealing).
Total DIY time for a typical 30-square-foot backsplash: 8–12 hours over 2–3 days (including cure time).
When to hire a pro:
- Large-format slabs or heavy porcelain panels (requires specialized tools and two-person handling)
- Stone that requires book-matching (veining must align across multiple pieces)
- Complex patterns, herringbone, or chevron layouts
- Electrical or plumbing work (moving outlets, cutting around pipes)
- Tight timelines (pros can complete in 1–2 days what might take a DIYer a full weekend)
Professional installation costs $10–$30+ per square foot for labor, depending on material complexity and region. Get at least three quotes, ask for photos of recent modern backsplash projects, and confirm they’re licensed and insured. Kitchens showcased on sites like The Kitchn often credit the tile installers, which can be a good starting point for finding experienced pros.
Permit requirements: Backsplash installation alone typically doesn’t require a permit. But, if moving electrical outlets or doing structural work, check local code. When in doubt, call the local building department.
Conclusion
A modern kitchen backsplash transforms the room without the cost or disruption of a full remodel. Whether going for sleek subway tile, bold slab panels, or textured porcelain, the key is clean lines, thoughtful material choice, and solid prep work. DIYers with patience and a wet saw can handle most tile projects: anything large-format or structural calls for a pro. Measure twice, plan the layout, and don’t skip the grout sealer. The result is a kitchen that feels current, cohesive, and ready for years of use.