Table of Contents
ToggleIndoor air quality isn’t just a comfort issue, it’s a health one. Dust, pollen, pet dander, and volatile organic compounds circulate through most homes daily, and a quality air purifier can make a measurable difference. Winix units are popular for good reason: they’re affordable, effective, and widely available. But even the best purifier is only as good as its filter. A clogged or expired filter won’t just reduce performance, it can recirculate contaminants back into your space. This guide breaks down Winix filter types, replacement schedules, installation steps, and maintenance tips to keep your air cleaner running at full capacity.
Key Takeaways
- A Winix air purifier filter system includes three stages—a washable pre-filter, True HEPA filter, and activated carbon filter—each tackling different airborne particles for optimal indoor air quality.
- Replace the True HEPA filter every 12 months under normal use, the carbon filter every 3–6 months, and vacuum the pre-filter every 2–3 weeks to maintain peak performance and motor lifespan.
- Installing a new Winix air purifier filter takes just 7 steps and requires no tools; always verify the part number matches your model and remove all plastic packaging before inserting filters to ensure proper airflow.
- Genuine Winix replacement filters cost $30–$50 for HEPA and $15–$25 for carbon, but aftermarket alternatives may reduce filtration efficiency by 20–30%, making OEM filters worth the investment.
- Running the purifier in auto mode, sealing the room, and keeping the pre-filter clean extends filter lifespan and reduces replacement frequency while improving overall air purification effectiveness.
- Don’t ignore the filter replacement indicator light—running a saturated HEPA filter strains the motor and increases energy consumption, so reset the timer after each replacement to avoid premature warnings.
Understanding Winix Air Purifier Filter Types
Winix air purifiers use a multi-stage filtration system, and each layer tackles different airborne particles. Understanding what each filter does helps you recognize when performance drops and why replacement matters.
Pre-Filter, True HEPA, and Activated Carbon Explained
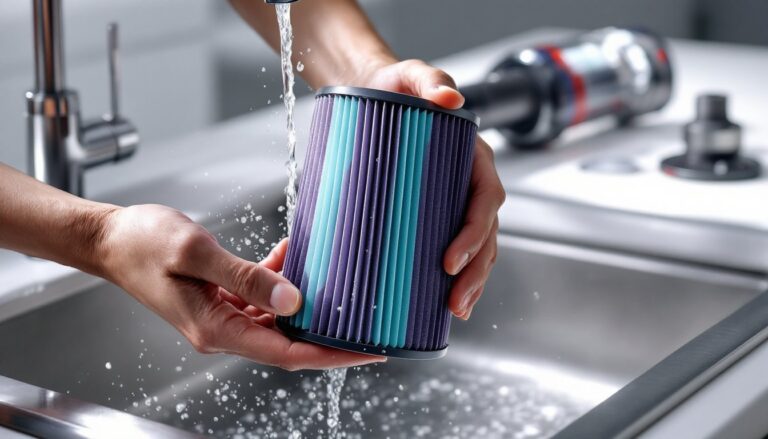
The pre-filter is the first line of defense. It’s a washable mesh screen that captures large particles like hair, lint, and dust before they reach the internal components. Most Winix models use a black or gray pre-filter attached to the front or back panel. It should be vacuumed or rinsed every 2-3 weeks depending on household conditions (pets, open windows, nearby construction all accelerate buildup).
The True HEPA filter (High-Efficiency Particulate Air) is the workhorse. It captures 99.97% of particles down to 0.3 microns, including pollen, mold spores, dust mites, and some bacteria. True HEPA filters are pleated to maximize surface area and typically last 12 months under normal use. If you run the unit 24/7 in a high-traffic area or have multiple pets, expect closer to 8-10 months. The filter doesn’t “look” dirty when it’s spent, microscopic particles clog the media long before visible discoloration appears.
The activated carbon filter (also called a carbon pre-filter or odor filter) sits behind or integrated with the pre-filter. It’s a thin layer of charcoal-infused material designed to adsorb odors, smoke, and volatile organic compounds (VOCs) from cleaning products, cooking, or off-gassing furniture. Carbon filters typically last 3-6 months but degrade faster in homes with heavy cooking, smokers, or strong chemical use. Once saturated, carbon can’t be refreshed, it must be replaced.
Some Winix models also include PlasmaWave technology, which generates hydroxyls to break down pollutants at a molecular level. This isn’t a physical filter, so it doesn’t require replacement, but it works in tandem with the filtration stages for broader coverage.
When to Replace Your Winix Air Purifier Filter
Most Winix units include a filter replacement indicator light, usually a red or orange LED that illuminates after a preset number of operating hours (typically around 2,500-3,000 hours, or roughly 12 months of continuous use). But runtime isn’t the only factor. Environmental conditions matter more than the clock.
Replace the True HEPA filter when:
- The indicator light turns on
- Airflow noticeably decreases even after cleaning the pre-filter
- Allergy symptoms or odors return even though the unit running
- Dust settles faster than usual in the room
Replace the carbon filter when:
- Cooking odors, pet smells, or chemical scents linger longer than they used to
- The unit has been in use for 3-6 months, even if airflow seems fine
- You notice a musty or stale smell coming from the purifier itself
The pre-filter doesn’t need replacement unless it’s torn, heavily stained, or no longer holds its shape after washing. Clean it every 2-3 weeks by vacuuming with a brush attachment or rinsing under lukewarm water and air-drying completely before reinstalling.
Don’t ignore the light. Running a purifier with a saturated HEPA filter can strain the motor, increase energy consumption, and reduce the unit’s lifespan. In dusty environments, homes near unpaved roads, construction zones, or areas with wildfire smoke, you may need to replace filters every 6-8 months instead of the standard 12.
For households with smart home technology, some newer Winix models integrate with air quality monitors or apps that track filter life more precisely based on actual particle load, not just runtime.
How to Replace Winix Filters: Step-by-Step Instructions
Replacing Winix filters is straightforward, no tools required, and most models follow the same basic process. Always unplug the unit before opening it to avoid accidental motor engagement or electrical issues.
Step 1: Remove the front or back panel. Most Winix models have a snap-off cover secured by plastic tabs at the top and bottom. Gently pull outward at the top edge and lift to release.
Step 2: Remove the pre-filter. This is usually the outermost layer, attached with Velcro or plastic clips. Set it aside if it’s washable and still in good condition, or discard if replacing.
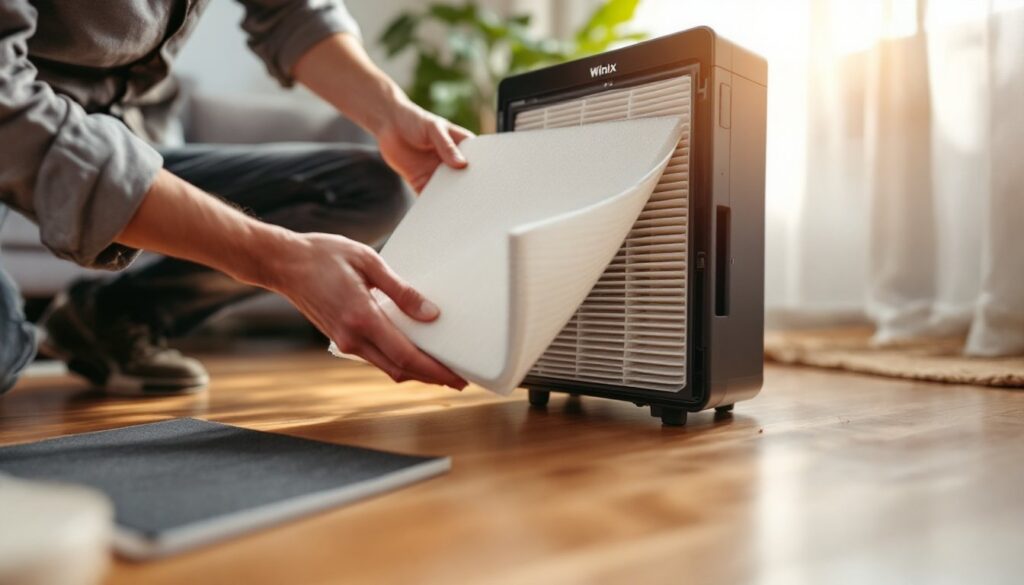
Step 3: Remove the True HEPA and carbon filters. These are typically stacked together, carbon filter on the outside, HEPA filter beneath it. Some models use a combined HEPA/carbon filter as a single unit. Slide the old filters straight out. Wear a dust mask and gloves, the HEPA filter surface is loaded with trapped particles.
Step 4: Unpack the new filters. Remove all plastic wrapping and packaging tape. Many users forget to remove a protective plastic sleeve from new HEPA filters, this will block airflow entirely if left on.
Step 5: Install the new filters in reverse order. Insert the True HEPA filter first, then the carbon filter (or the combined unit, if applicable). Ensure the airflow direction arrows on the filter frame point toward the fan motor (usually marked “FRONT” or with an arrow graphic).
Step 6: Reattach the pre-filter and snap the front panel back into place. You should hear a click when the tabs lock.
Step 7: Plug the unit back in and reset the filter indicator light. On most Winix models, this requires pressing and holding the “Filter Reset” button (sometimes labeled “Check Filter”) for 3-5 seconds until the light turns off. Consult your model’s manual if the button location isn’t obvious, some are recessed.
After installation, run the unit on high speed for 10-15 minutes to flush any loose carbon dust or manufacturing residue from the new filters. This is normal and should clear quickly.
Where to Buy Genuine Winix Replacement Filters
Genuine Winix filters are sold through several channels, but quality and pricing vary. Counterfeit filters are common on third-party marketplaces, and they often fail to meet True HEPA certification standards.
Manufacturer Direct: The Winix America website sells OEM filters with model-specific part numbers. This guarantees authenticity but often costs 10-15% more than retail.
Major Retailers: Amazon, Home Depot, Lowe’s, and Walmart stock Winix filters for popular models (5500-2, 5300-2, C535, AM90). Check the product listing for the exact model number compatibility, filters are not universal across the Winix lineup.
Big-Box Stores: Target and Bed Bath & Beyond occasionally carry Winix filters in-store, though selection is limited compared to online.
Third-Party Filters: Some aftermarket brands claim compatibility with Winix models at lower prices. While a few are legitimate, many lack True HEPA certification or use thinner carbon layers. Independent testing from consumer product review sites shows that off-brand filters often reduce airflow and filtration efficiency by 20-30% compared to OEM.
When buying, verify:
- The part number matches your model (printed on the old filter or listed in the manual)
- The listing specifies True HEPA or H13 grade
- Reviews mention the filter fitting snugly without gaps
- The seller has a return policy in case of compatibility issues
Expect to pay $30-$50 for a True HEPA filter and $15-$25 for a carbon filter 4-pack. Combo packs (HEPA + carbon + pre-filter) run $50-$70 and are the most economical option if you’re due for a full replacement.
Extending Your Winix Filter Lifespan: Maintenance Tips
Filters can’t last forever, but smart habits reduce how often you’re buying replacements.
Clean the pre-filter regularly. A clogged pre-filter forces the HEPA filter to work harder and shortens its life. Vacuum it every 2 weeks or rinse monthly. Let it air-dry completely, reinstalling a damp pre-filter can promote mold growth.
Run the unit on auto mode when possible. Continuous high-speed operation accelerates filter saturation. Auto mode adjusts fan speed based on detected air quality, reducing unnecessary runtime.
Keep the purifier away from direct dust sources. Don’t place it next to litter boxes, HVAC vents, or open windows during high-pollen days. This forces the filters to handle concentrated loads instead of ambient air.
Vacuum around the unit weekly. Dust and hair that settle on the floor near the purifier get pulled into the intake. A quick pass with a vacuum reduces what reaches the pre-filter.
Seal the room when running the purifier. Open doors and windows dilute effectiveness and introduce fresh contaminants. For maximum efficiency, run the purifier in a closed room sized appropriately for the unit’s CADR rating (Clean Air Delivery Rate, listed in the manual).
Don’t skip the filter reset. Failing to reset the indicator light after replacement can cause premature warnings and unnecessary replacements. Detailed guidance from home technology experts confirms that many users replace filters early simply because they didn’t reset the timer.
Store spare filters properly. Keep replacement filters sealed in their original packaging in a cool, dry location. Exposure to humidity can degrade HEPA media and activate carbon filtration prematurely, reducing effectiveness before you even install them.
Conclusion
Maintaining your Winix air purifier isn’t complicated, but it’s not optional either. Filters are consumables, just like furnace filters or vacuum bags, and skipping replacements defeats the purpose of owning the unit. Stick to the replacement schedule, buy genuine filters when possible, and keep the pre-filter clean. Do that, and your Winix will keep pulling its weight for years.