Table of Contents
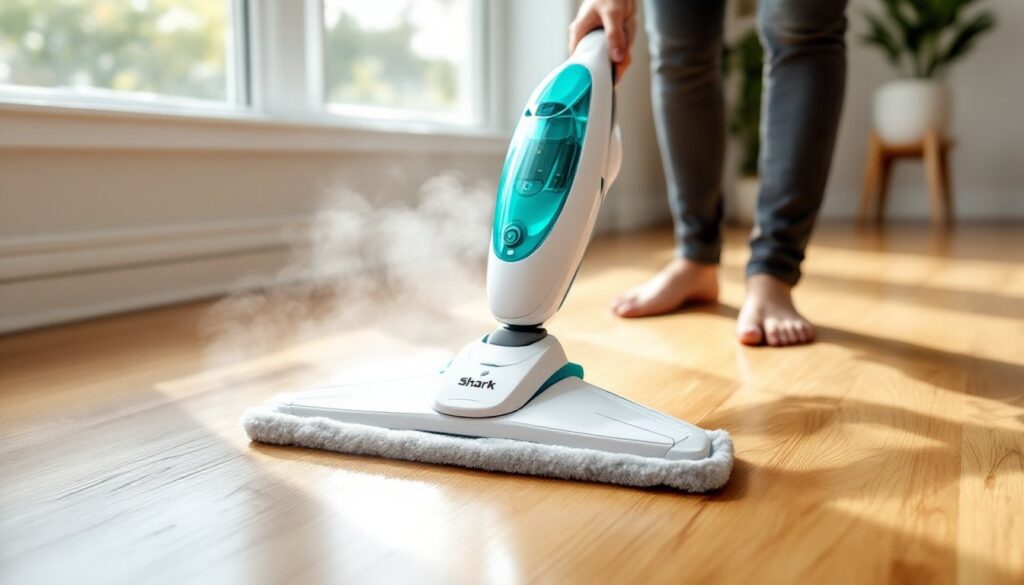
ToggleShark steam mops have become a staple in homes across the country, and for good reason, they clean sealed hard floors without harsh chemicals, using nothing but tap water converted to superheated steam. But if you’ve just unboxed yours or you’re staring at the control panel wondering why it’s not producing steam, you’re not alone. Knowing how to use a Shark steam mop properly makes the difference between streaky floors and a genuinely spotless finish. This guide walks through everything from initial assembly to troubleshooting, so you can get the most out of your investment and keep your floors looking their best.
Key Takeaways
- Shark steam mop instructions emphasize proper assembly with a snap-lock mechanism, correct microfiber pad attachment, and using distilled water to prevent mineral buildup and steam nozzle clogs.
- Effective cleaning requires slow, overlapping passes at one foot per two seconds, changing pads every 300-400 square feet, and adjusting steam settings based on floor type—low for sealed hardwood, medium to high for tile and grout, and low for sensitive laminate.
- Different floor types require different care: avoid steam on unsealed wood, waxed floors, and old laminate with edge swelling, while tile, vinyl, and sealed hardwood benefit most from the steam mop’s chemical-free cleaning power.
- Regular maintenance after each use—unplugging, rinsing pads, emptying the tank, and monthly descaling with vinegar solution—prevents mineral deposits and extends the appliance’s lifespan.
- Common troubleshooting issues like weak steam, leaks, and streaks are resolved by checking water tank placement, clearing nozzle clogs, replacing saturated pads, and ensuring slower, more deliberate cleaning passes.
Getting Started: Unboxing and Assembling Your Shark Steam Mop
When you open the box, you’ll typically find the main steam mop body, a handle assembly, one or two microfiber cleaning pads, a water fill flask or cup, and a user manual. Some models include additional attachments like a carpet glider or scrubbing pads, set those aside for now.
Assembly is straightforward. Align the handle tube with the main mop body and push firmly until you hear a click. Most Shark models use a snap-lock mechanism: no tools required. Attach the power cord clip to the handle if your model includes one, it keeps the cord tidy during use.
Before you plug anything in, double-check that the cleaning pad attachment tabs are aligned correctly on the mop head. The microfiber pad should wrap around the base and secure via hook-and-loop fasteners (Velcro). If it’s loose or misaligned, you’ll push dirty water around instead of lifting it. Take thirty seconds to get this right.
Preparing Your Shark Steam Mop for First Use
Fill the water tank using only distilled or demineralized water if you have hard water in your area. Tap water works in a pinch, but minerals can build up over time and clog the steam nozzles. The fill line is marked inside the tank, don’t overfill, or you’ll get leaks and inconsistent steam output.
Remove the tank by pressing the release button (usually on the handle or tank body) and pulling upward. Fill it at the sink, replace the cap tightly, and reinsert the tank until it clicks into place. Some models have a fill flask instead of a removable tank: pour water through the fill opening on the mop body in that case.
Attach a clean microfiber pad to the mop head, making sure it’s centered and fully secured. Plug the unit into a grounded 120V outlet, steam mops draw significant current during heat-up, so avoid extension cords or power strips if possible. Most models have an indicator light that glows red or orange during the 30-second heat-up phase, then turns green or blue when ready.
Step-by-Step Operating Instructions for Effective Cleaning
Once the ready light illuminates, you’re good to go. Here’s how to use the Shark steam mop effectively:
-
Select your steam setting. Entry-level models have a single steam output: mid-range and premium models offer two or three settings (dust, mop, scrub). Start with the lowest setting for routine cleaning and increase if you encounter sticky spots.
-
Pump or hold the steam trigger. Depending on your model, you’ll either pump a pedal on the handle, press a trigger, or hold a button to release steam. The first few pumps prime the system, don’t worry if steam is weak initially.
-
Move in straight, overlapping passes. Don’t scrub back and forth like a traditional mop. Push forward slowly (about one foot per two seconds), let the steam do the work, then pull back over the same path. Overlapping by about 50% ensures you don’t miss spots.
-
Lift and reposition frequently. As the microfiber pad gets saturated with dirt, flip it over or replace it. A soaked pad just redistributes grime. On average, one pad handles about 300–400 square feet before it needs changing.
-
Target stubborn spots with concentrated steam. For dried spills or scuff marks, hold the mop head stationary over the area and pump steam for 5–10 seconds, then wipe. The heat softens residue so the microfiber can lift it.
-
Work in sections. Break large rooms into 4×4 or 5×5 foot zones. Complete one section, move to the next, and avoid walking on damp areas until they air-dry (usually under two minutes).
Steam output should be steady and visible. If it sputters or stops, the tank may be empty, the pad may be too dirty, or there’s a clog (see troubleshooting below).
Best Practices for Different Floor Types
Sealed hardwood and engineered wood: Use the low or medium steam setting. High heat can damage finish or cause boards to swell if seams aren’t perfectly sealed. Test in an inconspicuous area first, if water beads up and evaporates quickly, you’re fine. If it soaks in or leaves a white haze, your floor isn’t well-sealed and steam cleaning isn’t recommended.
Tile and grout: Medium to high steam works well here. The heat breaks down grout stains and soap scum. For deep grout cleaning, some Shark models include a triangle-head attachment or scrubbing pad, swap it out if you have it. Move slowly over grout lines to allow steam penetration.
Laminate: Stick to low steam and quick passes. Laminate is moisture-sensitive, especially along seams. Never let the mop sit in one spot. If your laminate is older or shows edge swelling, consider a damp microfiber mop instead.
Vinyl and linoleum: These handle steam well. Medium setting is usually ideal. Vinyl plank (LVP) is more forgiving than sheet vinyl, but both clean up nicely with steam. According to cleaning experts, hot steam paired with microfiber technology effectively lifts dirt without chemicals.
What NOT to steam: Unsealed wood, waxed floors, unsealed cork, and carpet (unless you have a carpet glider attachment). Also avoid using steam mops on painted or stained concrete unless you’ve confirmed the finish is moisture-resistant.
Maintaining and Cleaning Your Shark Steam Mop
Regular maintenance keeps your steam mop running efficiently and extends its lifespan.
After each use:
- Unplug and let the unit cool for 5 minutes.
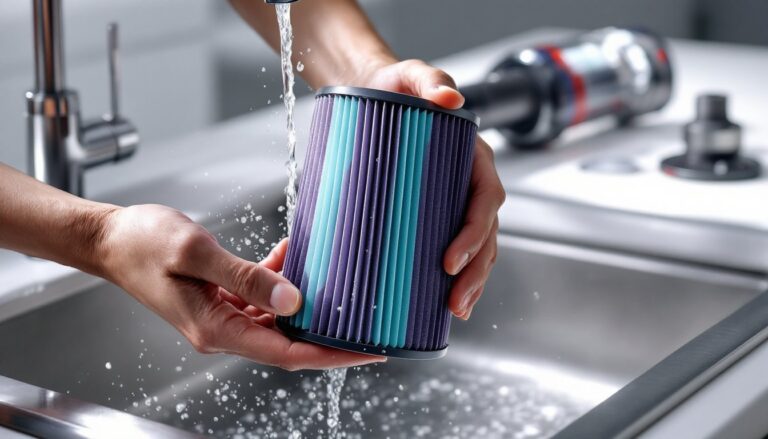
- Remove and rinse the microfiber pad in warm water. Machine-wash pads weekly using liquid detergent (no fabric softener, it clogs fibers). Air-dry or tumble on low.
- Empty any remaining water from the tank to prevent mineral buildup.
- Wipe down the mop head and handle with a damp cloth.
Monthly deep clean:
- Inspect the steam nozzles on the mop head for white mineral deposits. Use a toothpick or thin wire to gently clear any blockages.
- Run a 50/50 mix of white vinegar and distilled water through the tank (consult your manual first, some manufacturers void warranties if you use vinegar). Let it steam for 30 seconds, then rinse thoroughly.
- Check the power cord for fraying or damage.
Pad care: Buy extra pads so you can rotate them. Worn pads with matted fibers won’t absorb well. Replace them when they no longer spring back after washing.
Storage: Store the mop upright in a closet or utility room. Don’t wrap the cord too tightly around the handle, it stresses the wiring. If your model has a cord wrap, use it loosely. Many home organization guides on Real Simple recommend dedicated storage hooks for steam mops to keep them accessible and protected.
Troubleshooting Common Shark Steam Mop Issues
No steam or weak steam:
- Confirm the water tank is seated correctly and has enough water.
- Let the unit heat for a full 30 seconds: some models take up to 45 seconds.
- Check for mineral clogs in the nozzles. Descale using the vinegar method above.
- Ensure the microfiber pad isn’t too thick or folded, which can block steam vents.
Water leaking from the tank or base:
- The tank cap may not be tightened fully. Remove and reseat it.
- Overfilling causes leaks during heating. Fill only to the marked line.
- A cracked tank or worn gasket requires replacement parts (available from Shark’s support site).
Mop leaves streaks or residue:
- The pad is saturated with dirt, flip it or replace it mid-clean.
- You’re moving too fast. Slow down and overlap passes.
- Previous cleaning product buildup on the floor. Steam-mop once, let dry, then mop again with a fresh pad.
Unit won’t power on:
- Test the outlet with another device.
- Check the power cord for kinks or damage.
- Some models have a thermal cutoff that activates if the unit overheats, unplug, let cool for 15 minutes, then retry.
Steam smells burnt or musty:
- Old water left in the tank can develop odors. Always empty after use.
- The microfiber pad may be mildewed. Wash or replace it.
- Descale the system if you’ve been using tap water in a hard-water area.
If problems persist after trying these fixes, contact Shark customer support. Most models carry a one- to five-year limited warranty covering defects in materials and workmanship. For additional cleaning and maintenance tips, The Spruce offers comprehensive guides on extending appliance lifespan.
Conclusion
Learning how to use a Shark steam mop correctly transforms it from a one-trick gadget into a reliable floor-cleaning workhorse. Proper assembly, smart water choices, technique adjustments for different floor types, and consistent maintenance all add up to cleaner floors and a longer-lasting machine. Keep extra microfiber pads on hand, don’t skip the descaling routine, and remember that steam works best at a slower pace than traditional mopping. Once you dial in your routine, you’ll wonder how you ever cleaned floors any other way.